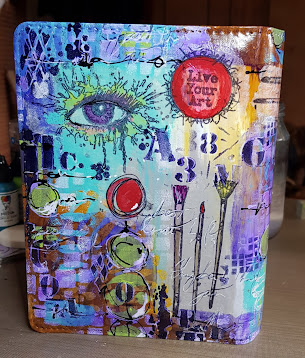
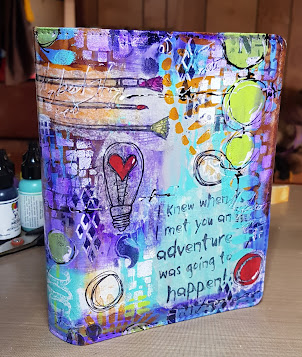
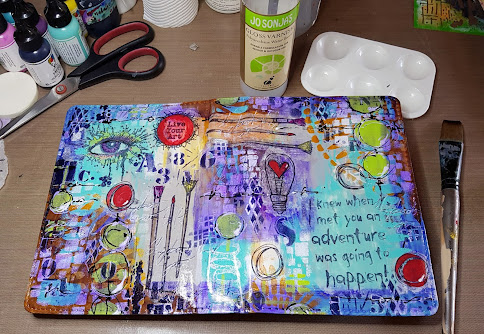
Hi everyone, I have been asked a lot how I add my own painting style to everyday items such as sunglasses cases, handbags and phone cases so I thought I'd share on my blog how I do it. When I'm looking for something to paint I love visiting local shops and the Op Shops to find items that would love to be given an unique look.
I had a diary that I thought could do with a touch of colour so it gave me the opportunity to 'Art' it up and share my process with you all.
Products I used:
Diary art folder
Dina Wakley- Acrylic paints, White Gesso.
13arts- Gel Medium (as a glue)
A range of brushes and sponges.
A variety of stamps, stencils and masks including Colour Blast, Dark Room Door, l'encre et l image and Bee Arty, Kaisercraft, Donna Downey, Stencil Girl and Art by Marlene
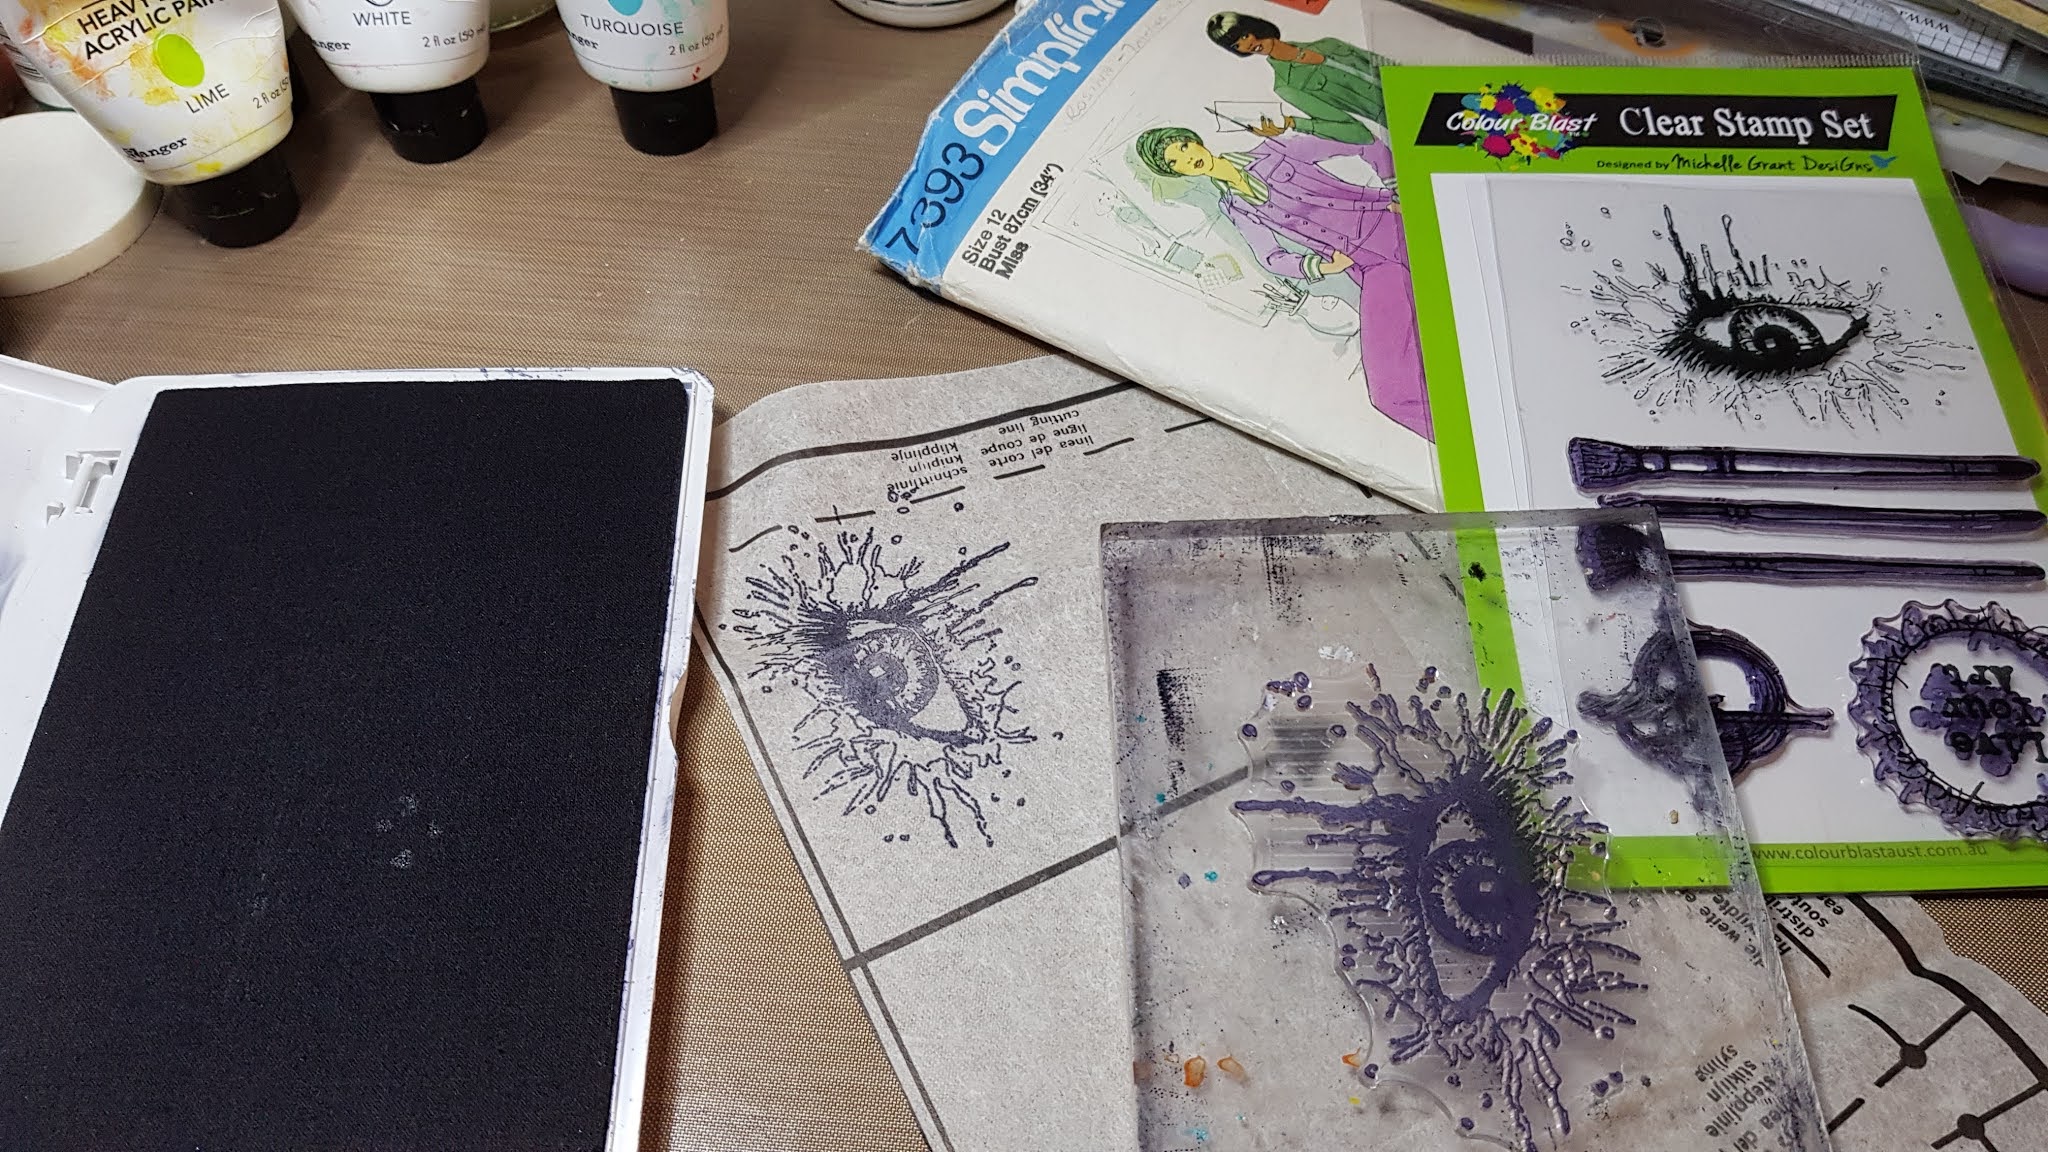
Old white paper dress pattern
Rangers Black Archival Ink
A clear acrylic block for stamping
Natalie May drawing ink solution.
Pilot Pintor Extra fine water based pigment ink/paint pen- white
Permanent fine liner black pens
STEP 1: SEALING LAYER
I covered the Diary cover with 2 thin layers of white gesso, ensuring the first layer was dry before adding the second.
STEP 2: IMAGE PRINTING
Whilst the gesso is drying and setting thoroughly, I stamped a range of images onto old dress patterns. To ensure the images are crisp and evenly printed I always use an acrylic stamp block.
Tear around each print leaving a small border around each, this helps keep the edges soft and not angular on the finished product.
STEP 3: ACRYLIC PAINT BACKGROUND LAYER
Using a brush I painted some 'Night' acrylic paint around the edge and in a couple of sections and let dry.
I added different colours in different areas using my fingers to smear the paint around until I was happy with the effect.
I experimented with adding each layer when they were still wet and others I let dry before adding the next layer or layers.
It's all about trial and error, some didn't work so I used a wet one to remove the paint I didn't want or like. Several times I thought I didn't like the effect but left it and continued to work at it believing in myself and my knowledge of how colours work together. The hardest bit was allowing it to completely dry before jumping in to add the next step in the process.
STEP 4: STAMP LAYER
Using the Gel Medium as a glue, I painted it onto the back of the paper images I prepared earlier and then placed each individual piece onto the painted surface coating it with a layer of gel medium ensuring that each addition was both glued on well and was smooth over the surface. (no air bubbles).
STEP 5. STENCIL LAYER
Placing a small amount of acrylic paint onto my work mat I used several stencils and a sponge to add more layers to the cover.
I chose colours that would add not only bold striking accents but also white to soften and connect the layers together. The white did absorb some of the blue 'night' changing it to a purple shade. (Layers weren't dry properly, but I loved the effect)
STEP 6: ACCENTS LAYER
This means picking out key shapes or items to showcase adds depth and character to a page. On this cover I chose the eye, heart in the light bulb, brush tips and circles to add a pop of colour for my accent layer. I used a fine brush to paint the areas with my chosen colours.
STEP 7: Adding small sections of stenciling in black acrylic paint (using a sponge) built on the layers to add depth and make the page pop a little more. I like to use small stencils with numbers and alphabet letters. It's hard to know when enough is enough but sometimes adding white and black can bring it all together.
STEP 7: SCRIPT LAYER
Using a script stamp and archival ink I added sections of script in different areas. This time I used the stamp without the block to ensure that there were no straight edges and instead a patchy effect.
STEP 8: HIGHLIGHTING LAYER
Using white and black drawing ink I like to draw wriggly lines and circular marks around the circle stenciling. It's important to ensure that each layer dry in between.
To complete the page I used a black permanent pen and white paint pen (pigment ink) to add highlights to the shapes, stencils, numbers and letters.
STEP 8: VANISH LAYER
I have always used Jo Sonja's Gloss Water Based Vanish to seal and protect these types of art creations, I'm sure there are other vanishes that would do the same but it's the one that has worked for me and as a little seems to go along way. I have still got a lot left in my bottle (brought it years and years ago when I use to do Folk art).
4 thin layers applied at least 1hr apart develops an alcohol resistant surface. It is recommended to let the surface cure for 2 weeks to ensure a durable surface.
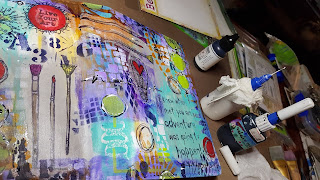
Here are some CLOSE UP SHOTS for you to check out:
Hope you enjoyed my tutorial and I have inspired you to take on the challenge to find a diary cover, sunglasses case etc and create your own unique piece of art.
Happy Creating.