Welcome to my Scrapbooking Top 50 Australia Design Team Inspiration layout. The sketch for the January Challenge is one that inspires us to add and experiment with layering. I chose a small photo of myself as a child to put on my layout. As I work with children in our local long day care centre when I found it, it made me think of how my parents made me feel as I was growing up and that how I was brought up had such a huge impact in my life. This inspired me to search for the right quote to put on my page and thanks to Pinterest I found just the right one "The way we talk to our children becomes their inner voice". - 'Peggy O'Mara' and this is what I created using this months sketch.
 |
| Scrapbooking Top 50 Australia |
 |
| Thanks to our January Sponsor. |

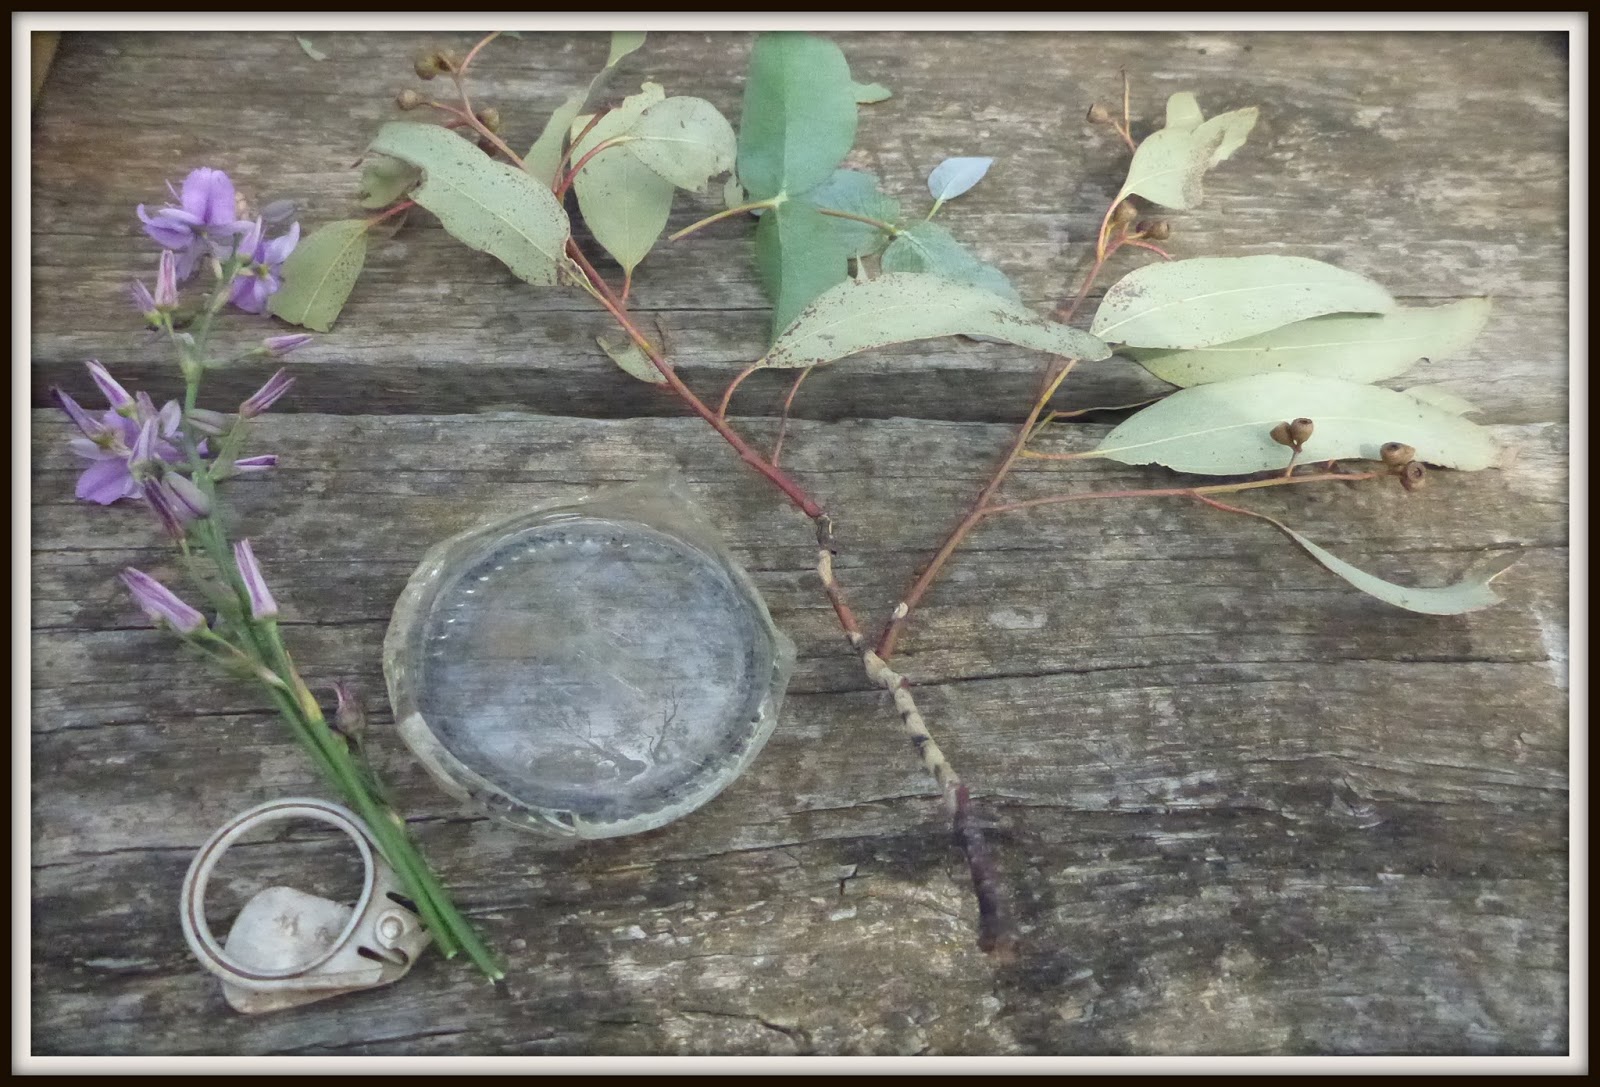
Items I used included:
- Kaisercraft paper 12"x 12" from my stash
- Burdy embellies: heart.
- 'Stormy sky' Tim Holtz Distress Ink
- Kaisercraft 6 1/2" paper pad 'Sweet Nothings'
- Kaisercraft 'Curiosity' collection die cut set.
- Ornamental frame - Merci
- Round Scroll work and metal button embellishment
- White cotton
- Coloured thick wool/thread
- White Gesso
- Wet Ones
- Watercolour paints
- Prima white wire thread
- Skeleton Leaves- Molli and Mimi
- Flowers- little Birdie (Boutique and Classic Elements) and Kaisercraft
- StazOn Black
- White cheesecloth
- Fineliners pens by Kaszazz
- Imaginarium 'Everyday' and Kaszazz 'Believe' chipboard words.
Heart:
- Edge the heart with StazOn Ink
- Then use Stormy Sky ink to blend around edges
- Tie some matching thick twine or wool through holes.
Background:
- Paint White Gesso over the whole 12"x12" patterned paper
- Using a Wet One wipe off some of the gesso, this softens the colours of the patterns on the central area of the paper and the edges a more delicate effect.
- Using White Gesso paint over the frame and leave to dry
- When dry chose the watercolour that is a deeper tone of the background paper and carefully paint over the gesso. If you work it too much the gesso with start to blend and move into the paint. You may like this effect I did as it let the diamonds show through.
- Leave to dry.
- When dry cut photo of your choice to size and then stick it to the back of frame.
- Chose the colours and patterns of the die cuts from the 6 1/2" paper pad for paper layers and cutting out flowers from paper like I did.
- Chose the assorted flowers and leaves that you feel suit the paper and style you envision.
- Find other embellishments that you feel will suit, I chose an acrylic button style embellishment with scrolls on it and metal button.
- Experiment with the placement of the papers, frame, flowers, leaves and embellishments, taking a photo on you camera or phone so that you remember where they belong or several versions so you can review which one you like the best.
- Wind wire thread into the shape of the frame and curl the ends up/down to add dimension.
- Cut a piece of cheese cloth to fit behind frame, distress the edges, spray with water and then paint with a matching watercolour paint to the frame leaving some white to soften the effect.
- On a journaling die cut add the quote using a fineliner pen.
- Paint the chipboard words with White Gesso. I experimented with different colours starting with white, stormy blue then ended using Staz On Black Ink, as the black seemed to work best.
- Glue all elements down placing white cotton between the cheesecloth and frame and behind the quote.


I really enjoyed creating this page and hope you enjoyed reading how you also could create a beautiful piece of art with my instructions or by taking on the challenge and creating your own take on this challenge. Pop over to Scrapbooking Top 50 Australia and be inspired further by other amazing artists on our design team.