Friday, 15 July 2016

'Attitude'- July Sketch Challenge Scrapbooking Top 50


My beautiful grand daughter has the most wonderful personality, full of fun and attitude. I loved this photo and just had to create this special page for her.

Scrapbooking Top 50 Australia
 July Sketch Challenge.


Items I used for this layout include:
  • 12" x 12" paper
  • Watercolour paints
  • Chipboard including Imaginarium Designs '4 in board shapes'
  • White gesso, Ranger gel medium and water mixed in a recycled glossy accents bottle.
  • DecoArt media 'crackle paint white'
  • Urban Artist 'Bloomingvale' stencil
  • Tinby Design Metallic melts  'Royal Purple'
  • Versa Magic 'Perfect Plumeria'
  • Little Birdie flowers
  • Kaisercraft flowers
  • Mill Hill Antique glass beads
  • Pale purple and Black card for backing the photo


  1. Firstly I used lots of water and purple watercolour and placed it onto the plastic wrapping of the Imaginarium chipboard packaging before placing it onto the paper. Using my fingers I spread the paint around until I was happy with the distribution and then lifted the plastic up. I repeated this until I covered the desired area.
  2. I used a spatula to smear crackle paint over the stencil in couple of places and left to dry to get the desired crackled effect.
  3. Using the mixed gesso, gel medium and water mixture I made swirls across the page.
  4. The Chipboard was covered with Vera magic Perfect Plumeria before sprinkling them with metallic melts and melting them with a heat gun.
  5. The photo was backed with black and purple card (edges distressed with scissors)
  6. When the swirls were dry I adhered the photo onto the page and then placed the flowers and chipboard on.
  7. Finally to finish the page I mixed beads into some gel medium and using a spatula spread some strategically around the flowers and chipboard.
 Close-ups


 Thanks for dropping by, I hope I have inspired you to join us at Scrapbooking Top 50 Australia and have some fun taking on the sketch challenge.

Simply perfect: Off The Rails Scrapbooking July Challenge.

Going camping is my escape from the hustle and bustle of my busy life, an opportunity to scrapbook in a peaceful environment, read a good book and just relax. Nothing is better than a fire, glass of wine and a campfire meal shared with my hubbie and my friends.

Here is my take on the 'Rustic and Soft' mood board over at

Off The Rails Scrapbooking July challenge.
Thanks to the fantastic Memory Maze for sponsoring our challenge this month.


'Simply Perfect'


 The items I used included:

  • White 12" x 12" card stock

  • Acrylic paints for background including black, white, yellow ochre and burnt sienna.

  • Spray bottle- small

  • Watercolours to paint the Memory Maze 'Flower Bunch' chipboard

  • White and black drawing ink.

  • Memory Maze Flower Bunch, Arrow, Kangaroos, 'Perfect' tag

  • 12" x 12" Kaisercraft Stencil-' Stained Glass'

  • White Crackle Paint- DecoArt

  •  Cardboard from a thick cardboard box and pull of one paper side to reveal corrugations

  • Page from old book.

  • Distress Ink Tim Holtz 'Vintage Photo' & 'Brushed Sage'- to age page and cardboard to give a burnt effect

  •  Black card to back photo

  • Scrap paper to back onto Black backed photo.

  • Plaid Dimensional Magic.


 How I created this layout:

Background: 

  1. Placing the stencil over the page I used a spatula to spread the crackle paint over the places I wanted to place the stone like pattern. It takes a while to dry so I did this the night before although I could of just waited or gently used a heat gun.

  2. Mixed black and white acrylic paint leaving several shades of grey to be able to be used. 

  3. Mixed yellow ochre and burnt sienna  to make an earthy colour that closely matched the colour swatch on the mood board.

  4. Spray the paper with a light spray of water and then using a very wet brush I applied the different greys to the page picking up the earth colour occasionally and dabbing it on to blend it into the grey. 

  5. With a drier brush I dabbed areas with the different colours to blend the paint together when necessary.  

Chipboard: 

  1. Using the grey paint left over from the background I painted the kangaroos and set aside to dry.

  2. The Flower Bunch was cut into 2 pieces with the stem removed.

  3. Using the watercolour palette earth tones I painted the flower in different sections.

  4. I painted the word 'simply' and the tag with watercolour paint and when dry covered them with Dimensional Magic and set aside to dry. (This does take a little time.)

Layers:

  1. Back the photo with black card and earthy coloured paper edged with 'Vintage Photo' distress ink 

  2. Tear a piece of cardboard to fit behind the backed photo and add both 'Vintage Photo' and 'Brushed Sage' distress ink.

  3. I did the same with a page of an old book.

  4. I layered all elements onto the background and when I was happy I used 'Glossy Accents' to glue them into place.

To finish the layout off  I used the colours I used watered down Burnt Sienna and Yellow Ochre paint and the black and white drawing ink to splat over the paper.


 Here are some closeups for you to see:


This will be one of my last inspiration pieces as a design team member at Off The Rails Scrapbooking, later in the month will be my tutorial so pop over and see my take on our other July mood board. 

I have had a wonderful time over the last 2 1/2 yrs and have grown in confidence and creativity thanks to the amazing artists over my time with the team. Thanks to the team for their support and inspiration I'll miss working with them but will keep up-to-date what's happening with the challenges and wish them all the best in the future.

Wednesday, 15 June 2016

Fairy Gardens and Dens- Scrapbooking Top 50 Australia June Challenge

This is my take on Scrapbooking Top 50 Australia's June Challenge. I took my inspiration from and being with nature. June is 'Fairy Garden and Den building' month, a time to reconnect with nature and our creativity and imagination. 


Items used:
  • 12" x 12" white card stock
  • Pieces of scrap black and white card stock.
  • Urban Artist stencil 'Hatched'
  • White modeling paste with Dylusions 'Ground Coffee' ink
  • Die cuts using in my 'Big Shot'- Tim Holtz 'Tattered Pinecone', 'Leaves' , 'Feathers'
  • Selection of earthy and moss papers
  • Distressed ink 'Vintage photo' & 'Bundled Sage'
  • Watercolour paints
  • Black gesso mixed with small amount of water in an empty Glossy accent glue bottle. (a great small nozzle)
  • Plaid Dimensional magic
  • Old book page
  • Arrow chipboard.
  • StazOn black ink
  • White wire thread. 'Prima'
  • Corrugated cardboard from a box
  • Stamping up Multi-letter/number adjustable stamper.
  • Black drawing ink
 How I created my layout:
  1. Mixing white modeling paste with Dylusions 'Ground Coffee' ink I made a pale coffee coloured paste which I spread over the stencil onto my white paper.
  2. When it was dry I replaced the stencil over the paste and sprayed lightly with the 'Ground Coffee' Dylusion ink.
  3. Using my black gesso mix in the glossy accent bottle to swish some black stripes over the stenciling.
  4. While it dried I used my BigShot to cut out some leaves, feathers (which I used for gum leaves) and pine cones and the pin needles. I used the sponge pads with 'Vintage Photo' and 'Bundled Sage' to blend the colours together on the die cuts.  
  5. Also used the same inks to edge the torn old book paper and corrugated cardboard.
  6. The arrows were painted with watercolour paint and then covered with Dimensional Magic and put aside to dry.
  7. I layered the cardboard, paper and photo before positioning it to the page then placed some of the pine needles and the pine cones into the top corner.
  8. The remaining leaves and pine needles were placed under the photo stack before I glued everything down.
  9. Onto a scrap white piece of card I stamped the words 'June is', 'Fairy Garden', 'and', 'Den Building' and 'Month'. I cut them out, used 'Bundled Sage' to colour the background. Before edging them with StazOn ink and backing them onto cardboard or black card.
  10. To finish off, I glued the arrows on, the words, and the white wire thread which I had dipped onto sprayed coffee ink on my craft mat.
 Here are a few closeups:


Hope you enjoyed reading how I made my latest layout, I definitely enjoyed doing it. I hope you are inspired to both join us over at Scrapbooking Top 50 Australia at our amazing challenges and also take the opportunity to build a fairy garden or den in your backyard or out in nature. 
Have fun. 

Monday, 23 May 2016

Dance Friendships- Off The Rails Scrapbooking Design Team May Tutorial

It's hard to believe it's been nearly two years since my daughters dream to dance overseas came true. To make it even better my mum and dad and myself traveled over to Basel Switzerland to watch her dance as a part of the OzScot Australia team and we were lucky to share in her excitement and as well her 20th birthday. It was an amazing holiday and a chance to share in this amazing journey of Bec's. 


Off The Rails Scrapbooking May Challenge.


I used the following supplies to create my layout
  • 12"x12" White Bazzil Card stock 
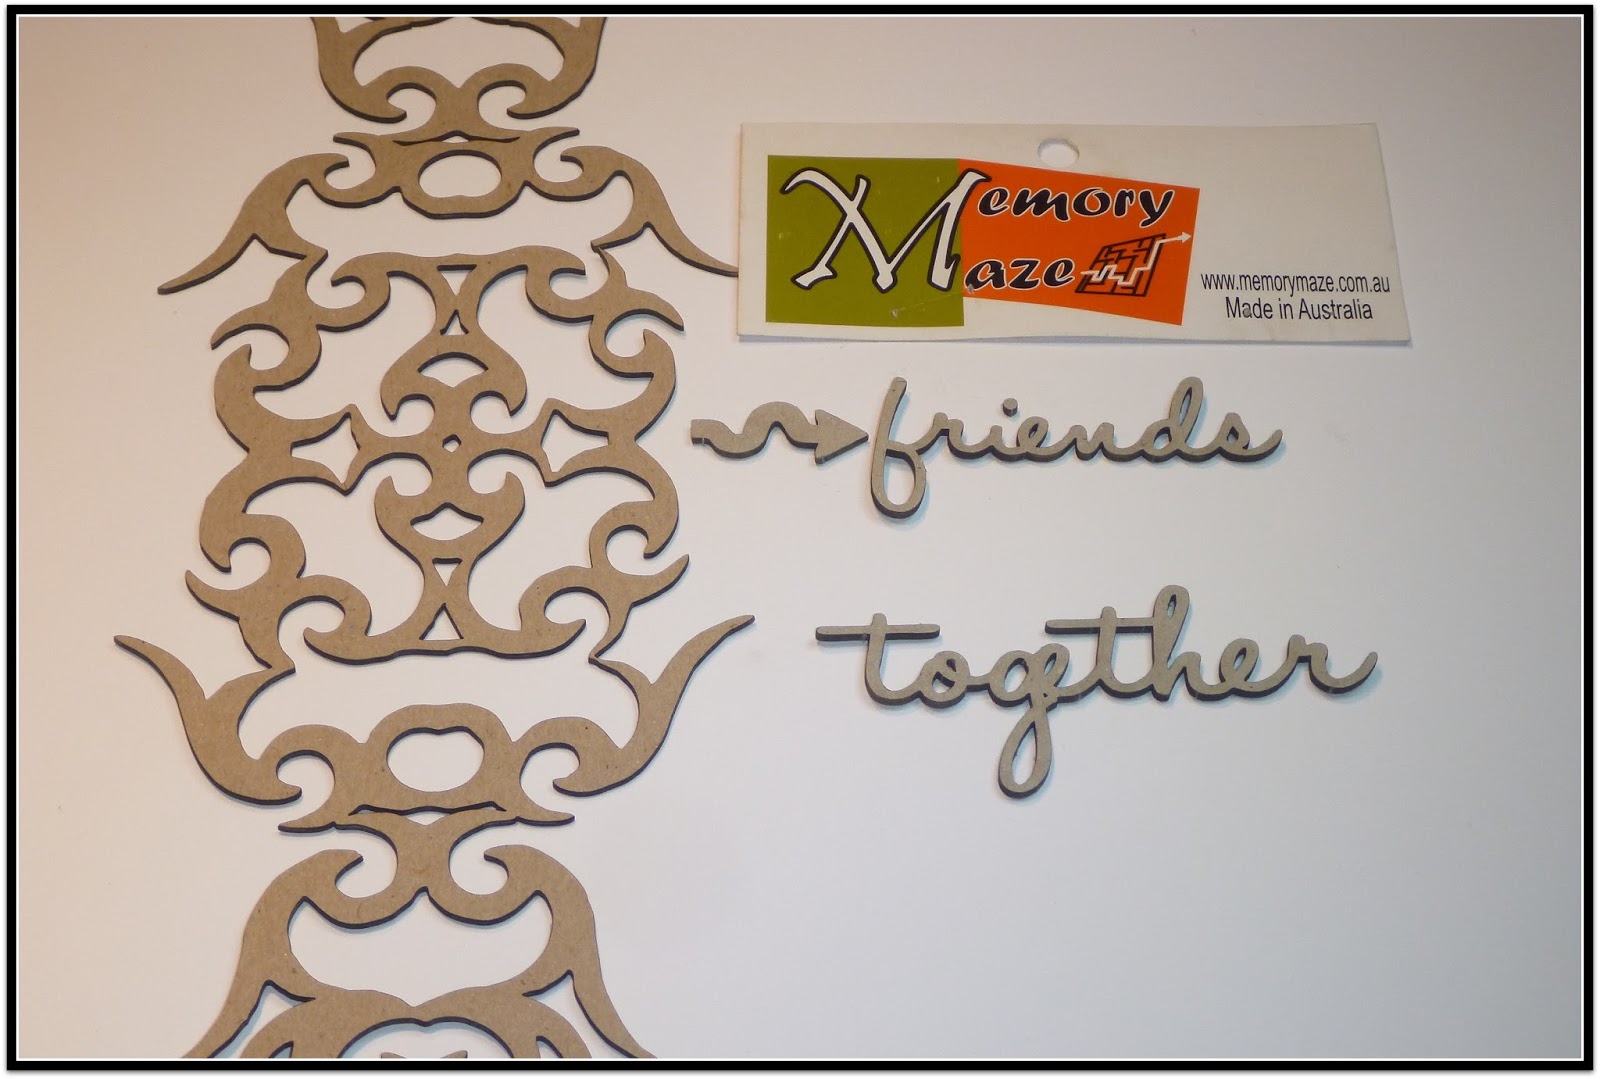
  • Memory Maze chipboard 'Fancy Boarder' & the Arrow from the 'Sunshine word set' & words Friends and Together from the 'Together word sheet'
  • The word 'Dance' from Kaisercraft 'Pop Collection' page. 
  • Black card stock for backing the photo and word 'Dance'
  • Kaisercraft 6 1/2"x 6 1/2" paper pad 'Enchanted Garden'
  • Bella 'Die cut'  Pack 
  • 'Blue London' Dylusions Ink Spray
  • Black gesso and water in an empty glue bottle with fine tip
  • Dimensional Magic.
  • Wire thread- white and black
  • Acrylic paint 'Semco'- black, Phthalo Blue and Ultramarine.
  • StazOn Ink- Black
  • Black ink


  • I first chose the chipboard pieces, the photo and die cuts I thought fitted with the theme I wanted to use; really hard when you have so many fantastic Memory Maze Chipboard pieces.
  • I experimented with placement of pieces and thought of different techniques and colours I could use.

  •  Using the Black StazOn Ink I edged all of my die cut and 'Dance' pieces. 
  • I glued my photo onto my chosen backings and edged the final piece with StazOn Black

  • Using black acrylic paint I painted the large chipboard piece and the word 'Together'. I then mixed the blue paints together until I was happy with the colour I needed to paint the word 'Friends'. The arrow was painted half with black and the other with the blue paint.

  •  When the paint was dry I used the Dimensional Magic over the top of the words and arrow to produce a gloss 3D effect.
  •  I placed a piece of cardboard (The cardboard in the packaging of the large chipboard piece) on to my paper to protect my white space and leave approx 1/3 of my page to apply ink to. Using a small spray bottle filled with water I sprayed the exposed section of paper  and then sprayed some water onto a piece of the plastic wrapping from the packaging of the chipboard. 


  • Next I sprayed 'Blue London' Dylusions Ink onto the plastic over the previously sprayed water .
  • When I thought I had enough on the plastic I flipped it over and placed it onto the paper, I continued to do this until I was happy with the coverage and effect. (Glad I had that piece of card down as I dropped a big blob of ink onto it, oops too much ink and water that time) 

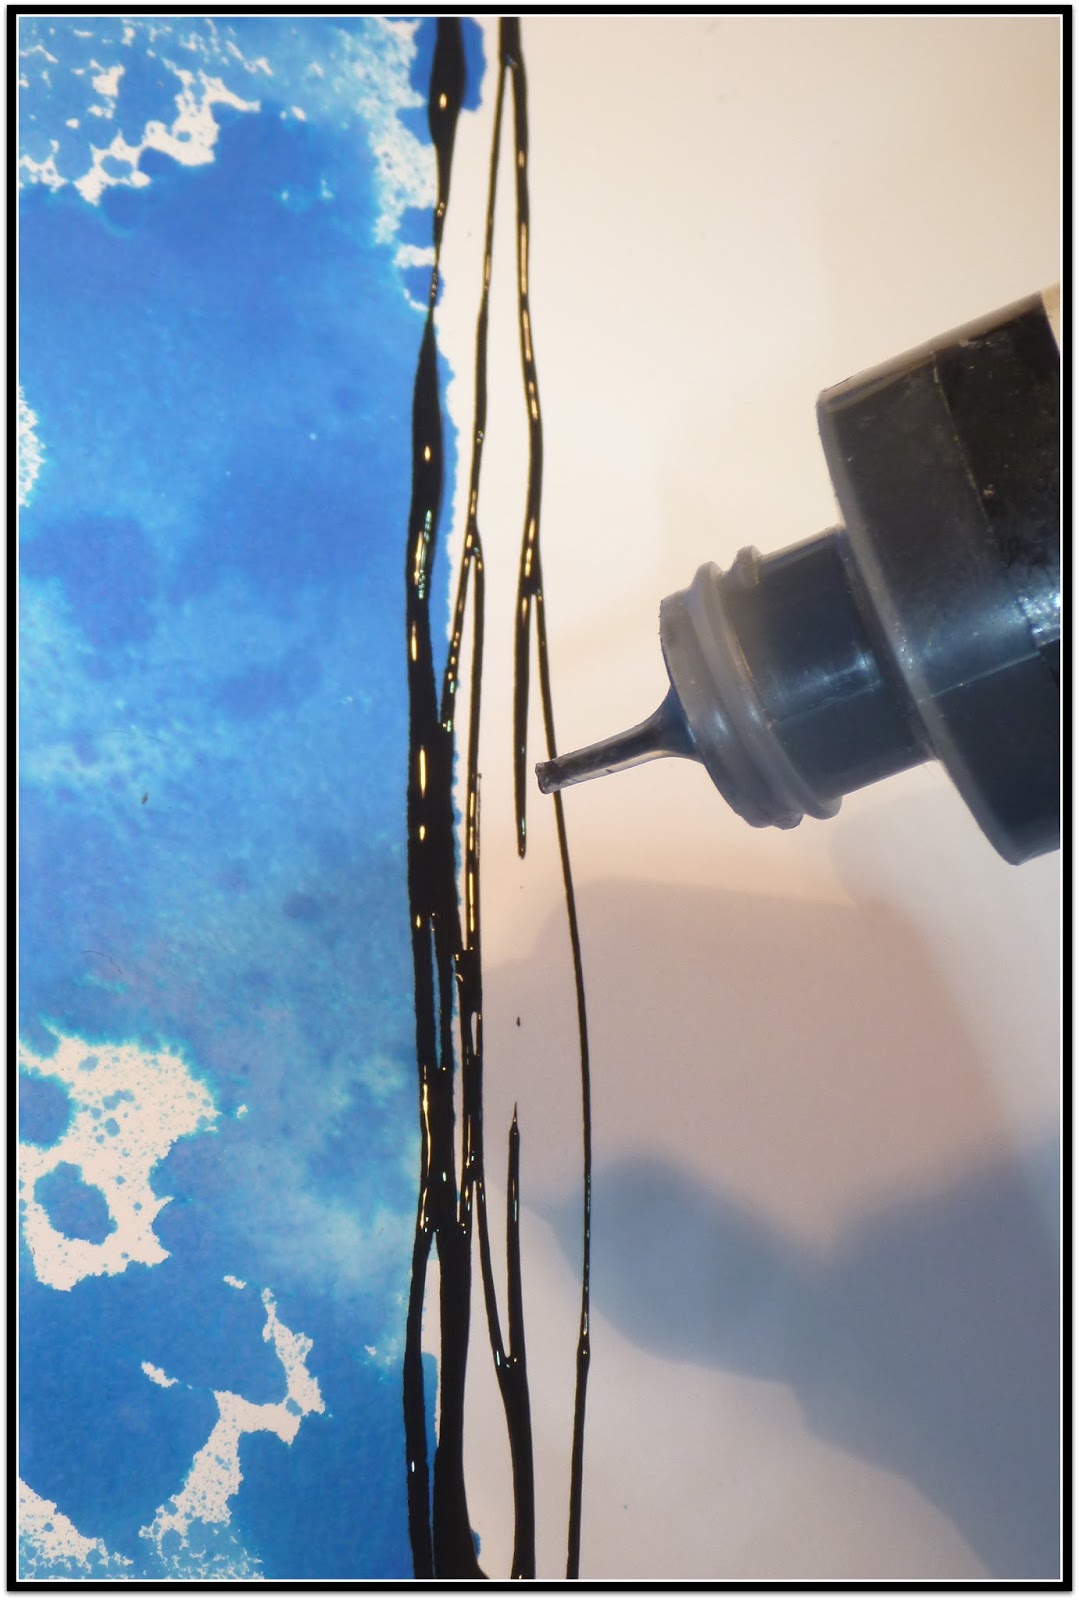
  •  When the ink was dry, I used some of my Black Gesso mix I had mixed for a recently layout I'd completed. The mix consists of Black gesso and water mixed into a small empty glue bottle with a fine tip. I slowly moved the tip above the blue edge as I squeezed the bottle gently to get the mix to smoothly move out along the paint edge.
  • When the gesso dried I began to complete the layout by placing on the elements I had already prepared; chipboard, die cuts and words.
  • Finally I added a few splats of 'Black' ink and 'Blue London' ink to finish off the background and 2 circles of wire thread over the photo to complete the layout.


Here are some close-ups for you all to checkout:


Thanks for dropping by, I hope my tutorial has inspired your creativity and that you come by our Off The Rails Scrapbooking Blog and give our challenges a try. I look forward to seeing your artwork. 

Sunday, 15 May 2016

Off the Rails May Challenge - "Dance"


Before 2003 I would of told you there would be no way I would ever listen bagpipes and enjoy it, but it's amazing what you do for your children. My youngest started her Highland Dance journey in March of 2003. Now at the age of 21 and after a lot of hard work, challenges, injuries and commitment she has amazing dance memories to share. In her dance school she has had and continues to have and become herself fantastic mentors. I found a piece of paper with the perfect saying that were just what I needed to create this "Dance" theme layout. The photo is my daughter approx 10yrs ago taken by my scrapping buddy Fiona and the sayings are just a few things we have said in the last 13yrs. She has worked so hard but if you 'Believe' and put in the hard yards, you to can 'Celebrate' where your 'Journey' can take you. For Bec it has been dancing in 2 Australian 'Edinburgh Military Tattoos' and 'Basel Tattoo' in Switzerland and making amazing friends along the way.

Off The Rails Scrapbooking May Mood Board

A huge thanks to Memory Maze this months sponsor.


The items I used included:
  • 12" x 12" white canvas
  • Lindy Stamp gang 'Magicals' - Tibetan Poppy Teal, Autumn Maple Crimson (teal was used on background and chippie words)
  • Lindy Stamp gang 'Color Shots'- Cocklebells Coral. (used Coral and Crimson and water on to white card together and when dry, cut out /punch out circles using a large circle punch then distress edge)
  • Small spray bottle filled with water- spray canvas/paper before adding your paint which you have already mixed together in a palette with water. Tip- practice on a spare piece of paper before adding it to the canvas if you are unsure.
  • Kaisercraft 6 1/2" X 6 1/2" paper collection pad- 'Hello Today'
  • Diane Wakley -White gesso
  • Donna Downey stencil - 'Count downey'
  • Tim Holtz Dylusion ink spray- Black marble, Tangerine dream (splats of colour)
  • White drawing ink (splats of colour)
  • Black card for backing sayings and photo
  • Cardboard box to cut up and use for giving height to the words.
  • Memory Maze Chipboard words - 'Together Word Sheet'
  • Dimensional Magic- to add to the words for dimension and shine.
  • Extra fine Sharpie pen for drawing 'Dance' and edging around the circle pieces.
**Remember water is your friend when using 'Magicals' and 'Color Shots' for background and Circles.**

Here are some closeups for you to check out.


Hope my layout has inspired you to give our challenge a try. See you soon with another new layout I've completed. Pop over to Memory Maze to see their huge range of chipboard and scrapbooking supplies.

Sunday, 1 May 2016

Scrapbooking Top 50 May Challenge- A moment in Time

Wow, May is here already, so It's my turn to share my inspiration layout for Scrapbooking Top 50 Australia May Tic Tac Toe Challenge. I love scrapping my children but I don't get a lot of chances to with Bel my eldest as photos are few and far between. Hint Hint Bel, so I get excited when I find a photo like this one. 
  There are so many variations you can do with this challenge.

I chose the centre horizontal line of Hot pink, Grey and Turquiose.


May Tic Tac Toe Challenge.


The items I used in creating my layout included:

  • White 12" x 12" paper
  • Black gesso
  • Water
  • Recycled 'Glossy Accents' bottle.
  • Dylusions Ink Spray- Bubblegum Pink, Vibrant Turquoise, Black Marble and White Linen.
  • 'Kaleidoscope' Kaisercraft 6 1/2" x 6 1/2" paper pad.
  • 'A moment in time' Imaginarium chipboard
  • Heidi Swapp 'Insta Kit' embellishments
  • Hessian painted with Dylusions Ink Sprays.( Black Marble and White Linen) 
  • An Arrow from Fundamentals Wood Veneers painted with Black Gesso
  • Black cardstock
  • Cardboard for under the photo to give layout height/depth. 


My Background -
  • Dylusion Inks: Place some of each colour into a palette.
  • Load a paint brush with water and then load with ink, place some ink onto the piece of plastic then turn over onto the paper where you want the colour. The more ink water solution on the plastic the larger the splotch you will have on the paper. Continue to do this with all colours. I mixed some white and black together for the grey, it dried darker than I wanted so I repeated the process with white and placed it over the grey areas to lighten the colour.
  • Black swirls were made by filling an empty Glossy Aceents with water and black gesso until it is a thick pourable consistency. Glossy Accent bottles have a fine nozzle and are easily squeezed perfect for making the swirls.


Closeups:


Thanks for coming over to look at how I did my background and layout for Scrapbooking Top 50 Australia.
Why not join us over at the challenge and create a piece of unique art of your own.