Thursday, 3 May 2018

The colour for  May is 'Pink', and not being my favourite colour to work with it has made it a challenge for me. A challenge is great to get the creative juices working and an opportunity to think outside the box for me.

This 12"x 12" layout is my first pink project. My grandies love coming over to Nanny's, they often ask for my watercolour paints and we spend time creating amazing art together.


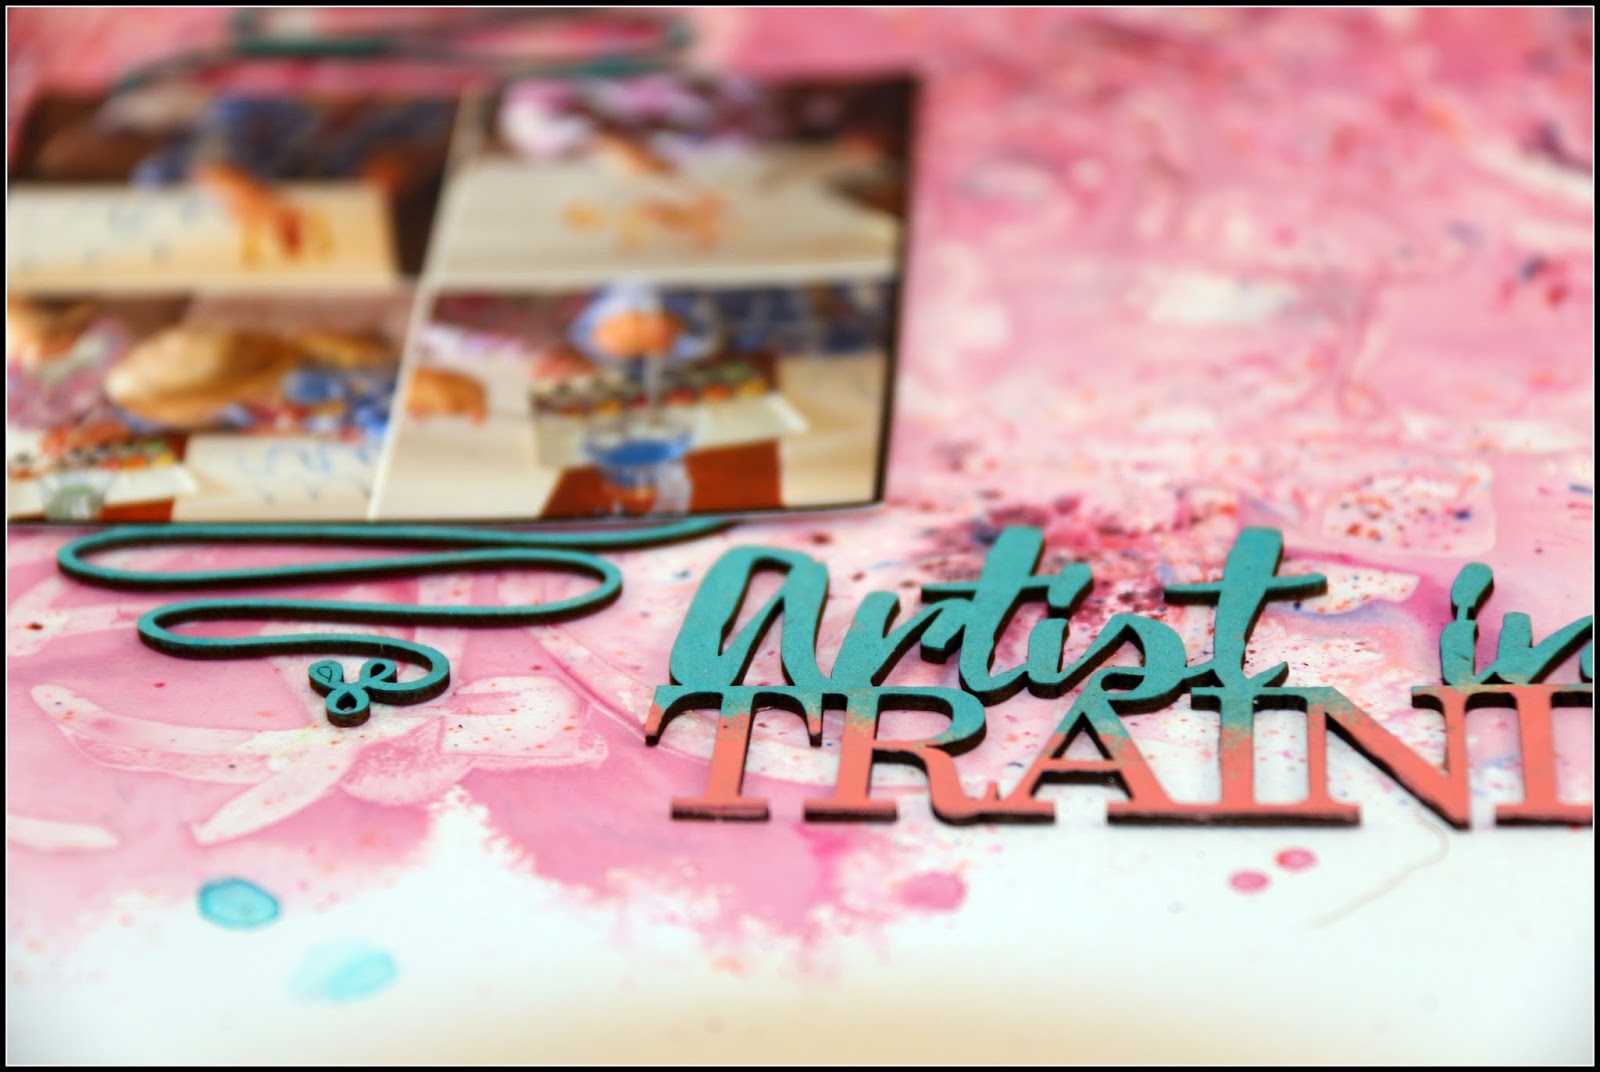
I love using colour and white space,  this was a perfect way to make the two new pieces of chipboard I used on this layout standout. The background was created by using clear gel medium over a stencil and then spraying the page with water, Lindy's 'bubblegum pink' spray and flicks of turquoise blue spray. Watered down acrylic Dina Wakley paint was used on the chipboard, turquoise on the flourish behind the photo and a combination of the turquoise and rose pink on the 'Artist in training' phrase.With the same colours being used to 'brush' stamp which was stamped with black Archival ink.
My second share is a new page spread in my handmade journal of a handpainted girl on a pink background.


The pages were covered by gesso first then when dry a combination of pink and white Dina Wakley acrylic paint was rubbed on with my fingers over the pieces of cheesecloth which were also added before painting the little girl. Black acrylic paint was used as an ink to print the sections of the 'circles and diamonds' chippie and when dry white gesso was smeared over the clock stencil and the variety of stamps I had stamped onto the page with Archival black ink. With orange acrylic paint and a makeup sponge over the heart stencil, lines of hearts were added and the outer section of the alphabet chipboard  was also used as a stencil. To give the page more depth I stamped Fiona Paltridges flower stamps onto white cardstock, watercoloured them and then fussy cut them to place along the bottom edge of the pages. The finishing touches added included black and white highlighting of the alphabet, hearts and doodling over the pages.


Heart Stencil IDMM001

Clock Face Stencil IDMM003
IDALC0001
Circles and diamonds IDS0091


My third and final share for May is a 3D little light globe scene of a fairy garden.


The tiny bird cage was covered with silver ink and then embossed with silver and glistening snow metallic melts. The lace doily chippie was cut so it would fit in the clear globe, painted white and then  segments were wrapped with green twine around the doily. The peacock feather was painted with a thick mixture of Lindy's Stamp Gang magicals. The globe was filled with the chippie and a variety of flowers and buds with blue and clear stones mixed with gel medium placed on the inside base section to surround the small fairy purchased from one of our cheapy shops.


Bird cage 4 in a board IDT0019
Peacock feather tiny IDDL0005
Heart edged doily IDS0089

Thanks for joining me to see my latest Imaginarium Designs post and hope that my 'Pink' creations have given you some inspiration to try this colour challenge yourself. If I can do 'Pink' so can you.


Friday, 13 April 2018

More Green Inspiration for April - Imaginarium Designs

Hi my scrapping friends,

Hoping you have all had a great Easter and not over indulged on chocolate like I no doubt have. We always camp on the Easter long weekend so for all of you that enjoy it as much as I do I hope you have been able to enjoy 'scamping' as I do (Scrapbooking whilst camping).


This months colour challenge is green. My inspiration came from taking my grandchildren to the local park and exploring the natural environment in the area.


Choosing the olive green from the 7Dots Paper I mixed some matching acrylic paint into transparent texture paste by Ranger and smeared it over the new Imaginarium Design 'Kate stencil' to add dimension the background. When dry I stamped some script in white over the page.
The 'All grown up' and '2015' chippie pieces were painted in blue acrylic to match the blue in the background paper and then added layers of die cut outs behind the photo and in the lower corner to balance the page.


Kate Stencil IDMM005

All grown up IDP007


Numbers. 38 per page IDN0001


Thanks for dropping by to see what I've been creating with Imaginarium Designs Chipboard, don't forget to checkout the other Design Team members amazing creations over at our Imaginarium Design Blog


Tuesday, 3 April 2018

Imaginarium Design April Green Inspiration.

Hi everyone, it's my turn to share my monthly creations using our amazing Imaginarium Designs Products. This month our theme is green so I have tried to have a touch of green in my share today.


The first page I'd like to share is one of my handsome grandson, he loves riding bikes and posing for photos for his Nan.


I used acrylic paints from Dina Wakley to give the chipboard a mix of soft and vibrant colours with the brown gave the grungy boy playing look. I used the heart chipboard piece as a stamp and a off cut over the red arrows. The background was built up with stamping, paint writing and using one of our new stencils.


IDALC0001

Crosses Stencil IDMM006
Loolobelle's Piechart and heart embellishments48 IDD0046
Lower case (18 on a card) IDALC0001A

Chevron Border 12 inch IDB0016

My second page is one of my glass ball photography pieces. I took this photo whilst camping and saw the light that was coming from the solar lights and it inspired me.


The background in this one is about the white space as much as the green Lindy's Stamp Gang vibrant powders which I used with water to cover the area as well with a sponge over a circle stencil. I used black Archival ink to stamp a range of stamps and the circle stencil behind the photo. The chipboard was covered with Versa ink in several colours.


 IDW0094 #instagram etc..jpg
Nats bubbles Med IDD0037
Your smile lights up my life IDP2012


My third project is cardboard box I brought from Spotlight and thought would make a beautiful tricket box. 


This little box was first sealed with black gesso before adding layers of chipboard, resin embellishments, a glass bottle and a brass keys. I added layers of several different colour metallic waxes to bring out the depth and character.


Chase your dreams IDP0197

New Heart Frame.
 
  
New Flourish

I really enjoyed making these latest creations and I hope they have inspired you to take on the challenge of thinking outside the box or trying some new techniques or maybe working with white space. See you next month.


Tuesday, 13 March 2018

Teal Colour Challenge- Imaginarium Designs DT Inspiration

Hi scrapping friends

Over at Imaginarium Designs we are creating with one of my favourite colours 'Teal'.


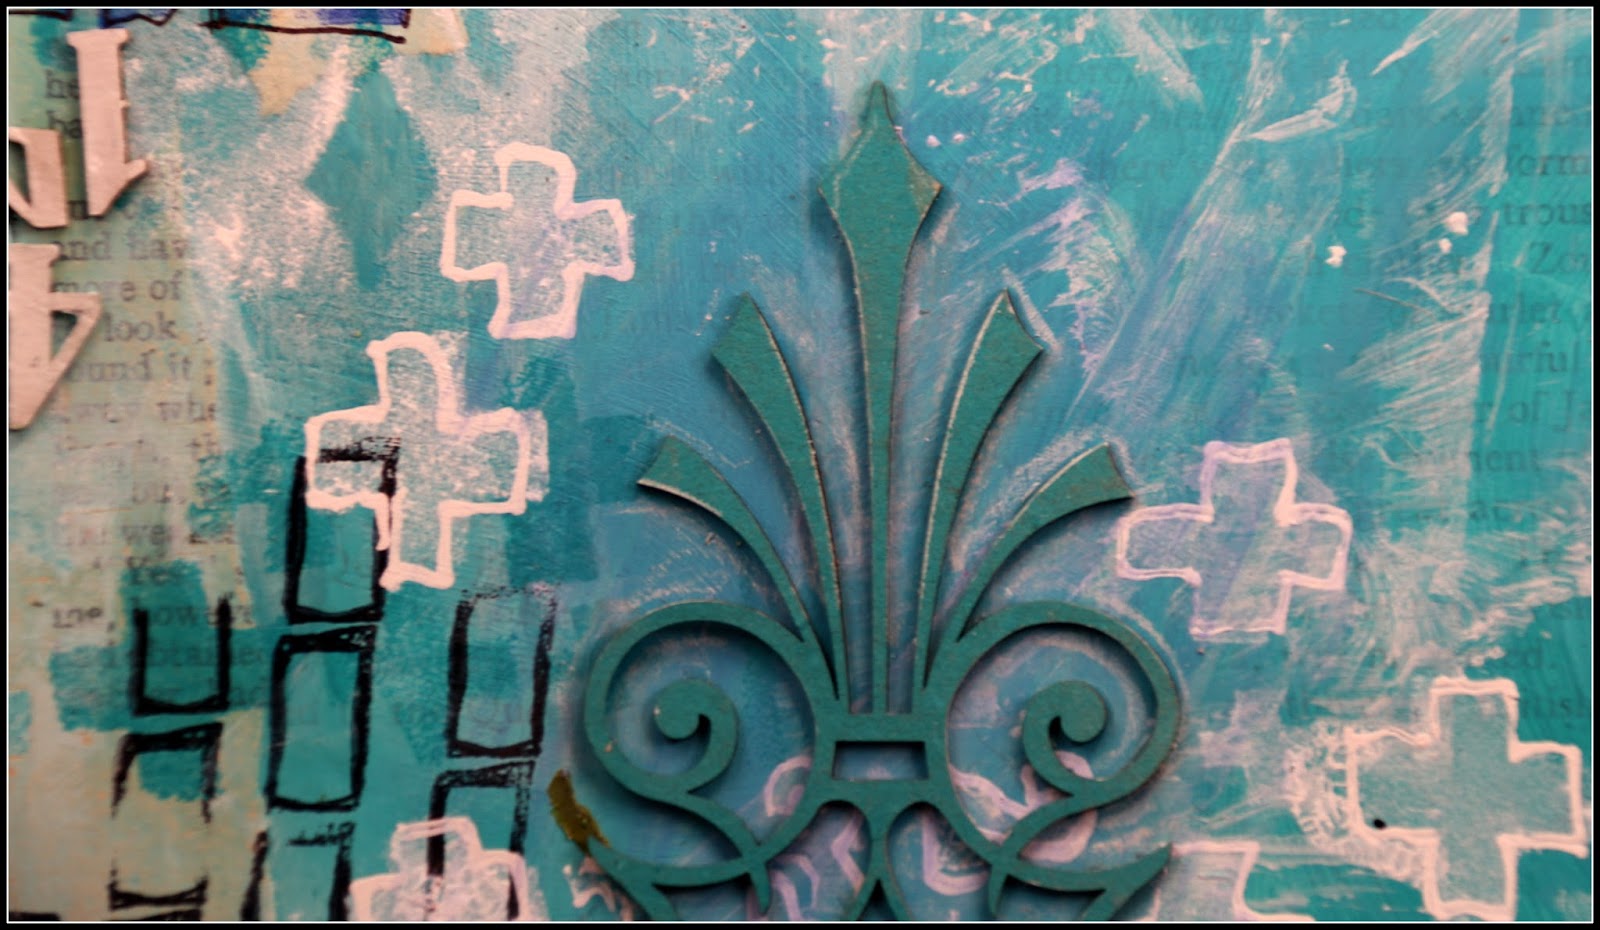
The background to my journal page was created by gluing torn book pages into my journal and  rubbing teal, deep blue and white acrylic paint over the page with my fingers. To add more white I dipped string into white acrylic paint and placed it onto the page with a end hanging over edge, I then closed the book and pulled string out. The two flourishes were painted teal before cutting one in half. White paint was used with the new crosses stencil and a sponge to add crosses to the background, numbers were also added with black stamping of a numeral stamp set and chipboard dipped in white paint.  A white correction marker edged the crosses and numbers when they were dry. Other additions to the background included the stamping of a range of stamps including some houses and using a white waterbased pencil to trace around the flourishes and softened with some water.


NEW LARGE FLOURISH

Crosses Stencil IDMM006
IDN0001 Numbers 38 per page

Thanks for visiting to see my latest creation for Imaginarium Designs, don't forget to visit our blog regularly to see all our wonder design team members pieces of art they are creating to show you all.