Showing posts with label Metallic Melts. Show all posts

Thursday, 3 May 2018

The colour for  May is 'Pink', and not being my favourite colour to work with it has made it a challenge for me. A challenge is great to get the creative juices working and an opportunity to think outside the box for me.

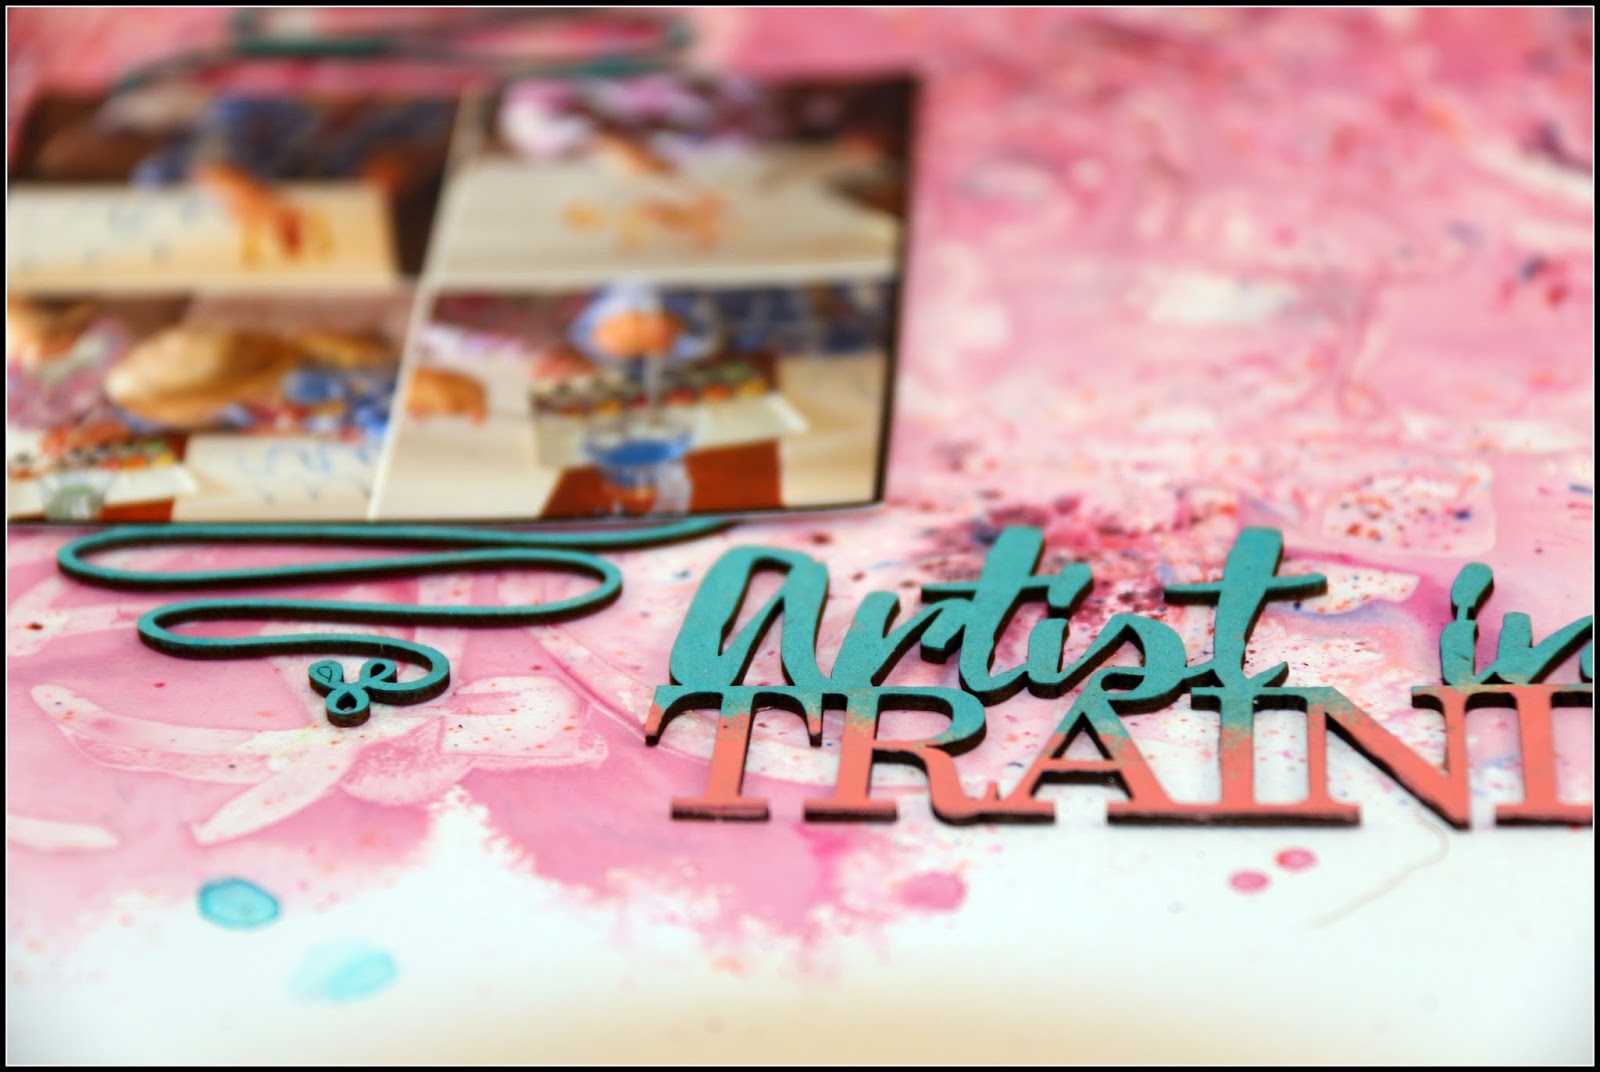
This 12"x 12" layout is my first pink project. My grandies love coming over to Nanny's, they often ask for my watercolour paints and we spend time creating amazing art together.


I love using colour and white space,  this was a perfect way to make the two new pieces of chipboard I used on this layout standout. The background was created by using clear gel medium over a stencil and then spraying the page with water, Lindy's 'bubblegum pink' spray and flicks of turquoise blue spray. Watered down acrylic Dina Wakley paint was used on the chipboard, turquoise on the flourish behind the photo and a combination of the turquoise and rose pink on the 'Artist in training' phrase.With the same colours being used to 'brush' stamp which was stamped with black Archival ink.

My second share is a new page spread in my handmade journal of a handpainted girl on a pink background.


The pages were covered by gesso first then when dry a combination of pink and white Dina Wakley acrylic paint was rubbed on with my fingers over the pieces of cheesecloth which were also added before painting the little girl. Black acrylic paint was used as an ink to print the sections of the 'circles and diamonds' chippie and when dry white gesso was smeared over the clock stencil and the variety of stamps I had stamped onto the page with Archival black ink. With orange acrylic paint and a makeup sponge over the heart stencil, lines of hearts were added and the outer section of the alphabet chipboard  was also used as a stencil. To give the page more depth I stamped Fiona Paltridges flower stamps onto white cardstock, watercoloured them and then fussy cut them to place along the bottom edge of the pages. The finishing touches added included black and white highlighting of the alphabet, hearts and doodling over the pages.


Heart Stencil IDMM001

Clock Face Stencil IDMM003
IDALC0001
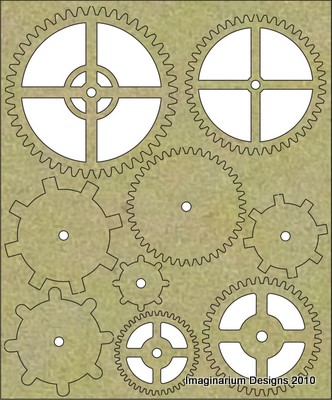
Circles and diamonds IDS0091


My third and final share for May is a 3D little light globe scene of a fairy garden.


The tiny bird cage was covered with silver ink and then embossed with silver and glistening snow metallic melts. The lace doily chippie was cut so it would fit in the clear globe, painted white and then  segments were wrapped with green twine around the doily. The peacock feather was painted with a thick mixture of Lindy's Stamp Gang magicals. The globe was filled with the chippie and a variety of flowers and buds with blue and clear stones mixed with gel medium placed on the inside base section to surround the small fairy purchased from one of our cheapy shops.


Bird cage 4 in a board IDT0019
Peacock feather tiny IDDL0005
Heart edged doily IDS0089

Thanks for joining me to see my latest Imaginarium Designs post and hope that my 'Pink' creations have given you some inspiration to try this colour challenge yourself. If I can do 'Pink' so can you.


Friday, 21 July 2017

Imaginarium Designs Chipboard July Creations

Hi everyone, Wow how fast is the year going it's hard to believe we are in the second part of the year already. It's been a busy time for us all and I hope you have been able to get into your craft areas and have fun creating your own pieces of art. I'd love to share with you what I've been creating lately.

My first creation was a layout with a sweet feminine feel.I used a layer of white gesso to soften the paper and then sprayed some Lindy's Stamp Gang ink sprays. 


I used Flourishes were covered with Versa ink 'Indigo' and title with 'Evergreen'. The bike was covered with a combo of a deep crimson and black acrylic paint. I used the 'Evergreen' to also cover the frame before covering it with Metallic Melts embossing powder. The small love heart was painted with Dina Wakley Scribble sticks and water.


 Imaginarium Design chipboard used included:


Bicycle small IDT0018
Inspire create IDW0092
Edith Frame IDT0038
IDW0072 Beautiful delight wonderful in board sml
Merilee variation flourish IDFL0032
Nats hearts 1 IDD0042

My second layout is a simple but striking page of my scrapping buddy Fiona Paltridge and myself ; birds of a feather we are. I couldn't wait to use her new stunning stamp range to do this page stamping the feather stamp onto white 12x12 cardstock with StazOn and then tearing some of the cardstock off to make a strip to be placed on the red. I then used Dina Wakley scribble sticks and lots of water to paint over the feather layering the colour until happy.


The cut the frame into 2 pieces and then covered it with Verra Ink 'Black' and the feather in 'Silver'.
The selfie chipboard was covered in spray gesso.


Imaginarium Designs Chipboard used included:

code IDW0094 #instagram etc.
criss cross frame 1 IDDL0008

skeletal feather IDDL0006

My last share is my latest addition my Imaginarium Journal book. 'Travel Destination'. We regularly go to camping shows and at the Adelaide one last year we came across a caravan through the ages display. This one took my eye so cute.


The chipboard titles were painted with red Dina Wakley scribble sticks with the frame painted in black acrylic paint. The banner was covered with Kaisercraft 6x6 paper and cut out after glue was dry with the edges scribbled around with a fine Sharpie pen.


Imaginarium Design Chipboard used included:

Banners IDS0074

Phillis Frame IDT0039
Compass with travel words IDW0019
Thanks for dropping by and hope I have inspired you to try some new techniques and ideas with our amazing Imaginarium Designs Chipboard that is Australian made in Adelaide South Australia.

Thursday, 2 February 2017

A Charming Tea Party- Lucky Charm Kit.

Hi, Scrappy Chat Designs friends! It's Sandi here to share with you 

my 'A Charming Tea Party' using this month’s stunning 

Lucky Charmkit.


Using the rustic papers and arrow complimented this unique photo of a old stairwell area with teapots as flowerpots. 
I enjoyed working with the 'Lucky Charm' paper as the kit contains the opportunity to explore a range of styles and techniques using the feminine or rustic combinations of papers as well as experimenting with these wonderful watercolour powder and the magnificent metallic melts.


Are you a Scrappy Chat Designs member yet?  Our members receive videos, tips and tech sheets similar to this little technique every month.

If you want more of this then ...........


Here is how you can join!

Joining Scrappy Chat Designs is like doing 3 classes each month - all in the comfort of your own home!

Each premier kit comes with:
Video AND instructions to complete the three layouts and feature many techniques with product to be used well after the life of the kit. (With all of our kits you will have plenty of product and knowledge to add to future projects)
Photos of each project including close up detail pictures.
All the product needed to complete the project with a list of additional basic items used such as ink/ paints/gesso/texture paste and colour sprays you will need out of your supplies.
The kits focus on how to use various products teamed up with some pretty paper to compliment them, so there is always less or non-consumable products in our kits, to not only help you complete some beautiful projects, learn many techniques and ways of using the different product as well as taking them well beyond the kit projects.


Membership can be purchased in 3 or 6 kit memberships.  Click on the memberships in the side bar to get yours today.

Kit individually is $45 + postage Australia wide.  Head HERE to get your kit

For more kits and other products visit www.scrappychatdesigns.com.au

This lasts for 3 months is $149 and includes 3 kits at OVER 10% off!!! and postage for all 3 kits  INCLUDED (they are released monthly).  As a member you also get ‘insider’ info on what is coming up in the next kit – sometimes even a pic! You get additional 'Technique sheets' showing you more techniques you can nail with the product in the kit from the talented Arty Chic's.  You are also guaranteed the kits which do sometimes sell out VERY quickly.  If you are interested in membership, you need to pay the membership fee by the 30th of the month prior.  So to commence in February (next kit to be released) you need to have your membership fee paid by 30th January. Just email for this deal orders.scrappychatdesigns@gmail.com 

Just email for this deal orders.scrappychatdesigns@gmail.com

Friday, 20 January 2017

Imaginarium Designs January inspiration share.

Hi everyone, it's great to be back this year with more inspirational ideas on how you can use Imaginarium Design chipboard to enhance your own creations.


This year I thought I'd start an inspiration journal and would like to share my journey with you all.


I glued the Imaginarium chipboard hearts, vine flourish and frame onto my white gesso painted double page also giving them a coating of gesso too. I then glued book pages onto the a section of the frame, gently massaging the glue covered paper over the chipboard before adding the background colours to both the paper and chipboard. The 'Gates' were painted with Finnabair's rust paste; 3 pastes layered over the chipboard until I was happy with the effect. To complete the page I added cheese cloth, flowers and embellishments.

The items I used in constructing this project included: 
  • An old book; I glued groups of 8 pages together then ripping out 8 (repeating til the end of book) before giving the finished pages a rough coat of white gesso.
  •  Finnabair's rust paste set of 3 colour pastes.
  • Lindy's Stamp Gang 'Magicals'- Mad Hatter collection (mix of flats and shimmers inks)
  • Brass keys, butterfly and clock face
  • Script stamp Kaisercraft
  • Kaisercraft collection 6 1/2" x 6 1/2" ''
  • Using torn up pages from the book as background sections
  • white cheese cloth
  • Prima flowers and leaves
  • Glass bottle
  • Black sharp for border.
  • Dylusions stamp set 'Quintessential Quotes'
  • Imaginarium Designs Chipboard:
IDDL0015 Lous heart shapes

IDFR0031 Oval Swirly Edge frame

IDS0075 Madison Gates

IDT0027 vine flourish


 My second piece to share is a card that I made for my beautiful daughter whose celebrating her birthday this month. I used a mix of story time ephemera and ID chipboard cogs to represent her 25yrs; growing up from a young child to a beautiful  women who inspires to be a mechanic in the future.


 After spraying the background with the 'circles circles' stencil, I glued down torn sections from an old story time magazine and painted it with gesso to soften it. The chipboard 'Believe' was coated with white gesso with the 'Happy' and '25' being splatted with 3 different Lindy's Stamp Gang ink sprays, I then coated them with a thin layer of glossy accents and sprinkled with Metallic Melts 'Glistening snow' before using a heat gun to melt the Melts. The cogs were covered with 'Pinecone' Versa Color ink and embossed with 'Bronze' Metallic Melts and then glued onto the 'Pinecone' inked 'Piechart' chipboard.

Items I used putting this card together included:
  • Old  children's magazines.
  • White gesso
  • Card stock
  • Kaisercraft 'Letter' stamp
  • White string coloured with LSG ink.
  • Lindy's Stamp Gang ink sprays; Mango mania, Rizzo's rowdy red, Merci Beaucorp Mint
  • Stencilgirl 'circles, circles' stencil
  • White string
  • Black fine Sharpie pen
  • Metallic melts from Tinby 'Bronze', ' Glistening Snow'
  • 'Versa Color' Ink pads 'Silver',' Pinecone'
  • Imaginarium Designs chipboard:
9 clogs on board IDS0018 13x11cm

9 Cogs on board small 6x5cm IDT0004

IDN0001 Numbers 38 per page


IDW0048 Believe
IDD0036 Nat's Piecharts 5 in a board


 IDW0073 You make me happy smile laugh in a board


 My third share is a layout of my Nan and I at my Aunties wedding..a very long time ago..lol.


Using an eyedropper I added Lindy's Stamp Gang ink along the edge and let it drip/moved it around with a well water loaded brush. The butterfly chipboard was simply covered with Silver Versa Color Ink, The birdcage was inked with silver also with embossed with Silver Metallic Melts. The chipboard doily and flourishes were covered with white 'Crackle paint'. Flowers and embellishments were added around the white resin frame with a black inked 'hello' chipboard word extended to go across the page by adding black wire thread.

The items I used on this layout include:
  • Prima Vintage Emporium collection 12" x 12".
  • Kaisercraft, Prima and assorted flowers
  • White and black gesso
  • Silver embellishments
  • Prima resin frame
  • Lindy's Stamp Gang ink- magnolia magenta gold
  • White 'Crackle' medium
  • Versa Color ink pads 'Silver', 'Green Tea', 'Patina'
  • Metallic melts- 'Silver' '
  • White cotton
  • Black wire thread
  • Imaginarium Designs Chipboard:

IDDD0008 Denises Trellis with flourish 1 tiny 2 per board

IDS0009 Bird cage 2 in board.

IDT0014 4 small butterflies

IDT0035 Katie doily 2 in board
IDDD0010 Denise art deco, 2 in board


Thanks for dropping by to check out my latest Imaginarium designs inspiration, I would love to see your creations you make, maybe in some of the wonderful scrapbooking challenges that are in the diverse scrapbooking wide world web in which we are connected in.


www.sandishobbysecrets.blogspot.com.au